
Working in pairs, you will build a Linux-based virtualization host server on hardware provided in the class.
NOTE: please take care to install LVM as shown, creating some small logical volumes for the system but leaving most of the volume group unused, because later exercises will need to create more logical volumes from the free space.
Please also name your volume group "ganeti", because this has to be consistent throughout a cluster of machines.
It may be necessary to press a key (e.g. F12/F11) to get the option to boot from the USB stick.
If all goes well, you'll be presented with a welcome screen showing the Debian Logo, and several installation options to choose from.
Below are the list of options to select as you proceed with the installation:
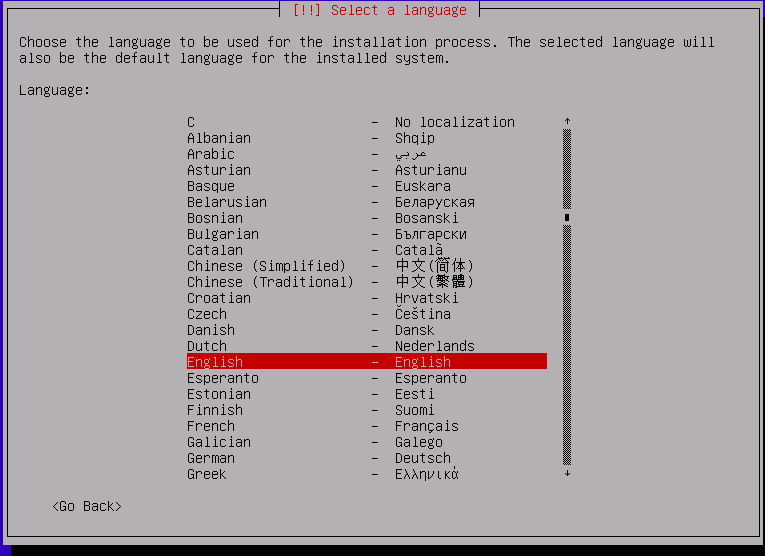

<No>, then choosing "English (US)" on the next screen, and again, "English (US)" on the third screen: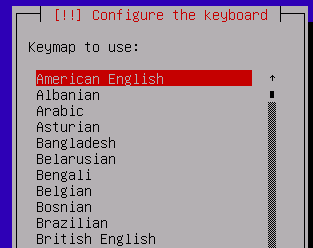
The installation will proceed to load various packages/components.
Network configuration should happen automatically (using DHCP) and next up, you will be prompted to give a hostname for the system.
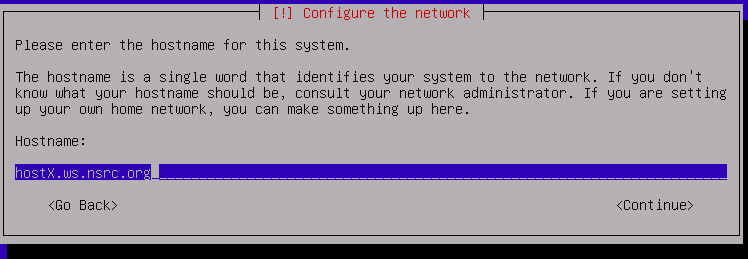


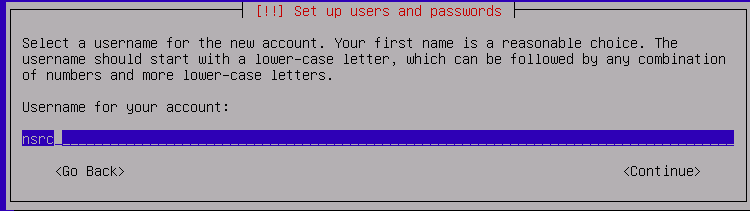
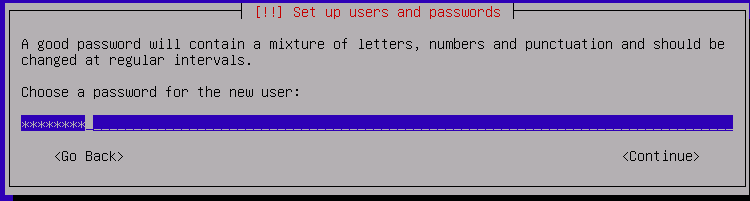
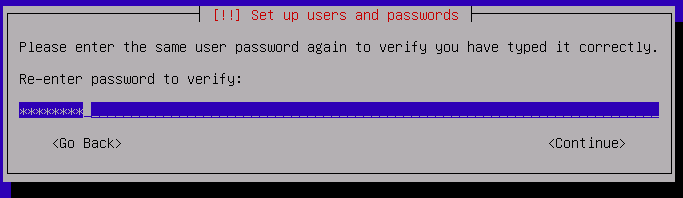
You will be prompted twice.
Manual and hit Enter

* If you are prompted to create a new partition table, choose `<Yes>`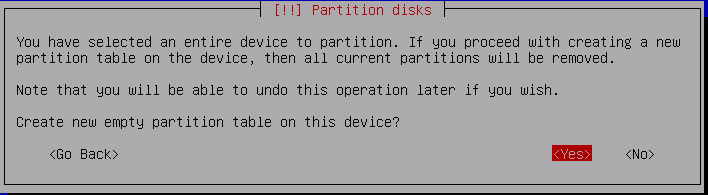
* If you are prompted to delete existing partition(s)
    * Instructors will tell you the best approach
    * If there's a large Windows partition, delete it
    * If there's a Recovery partition, keep it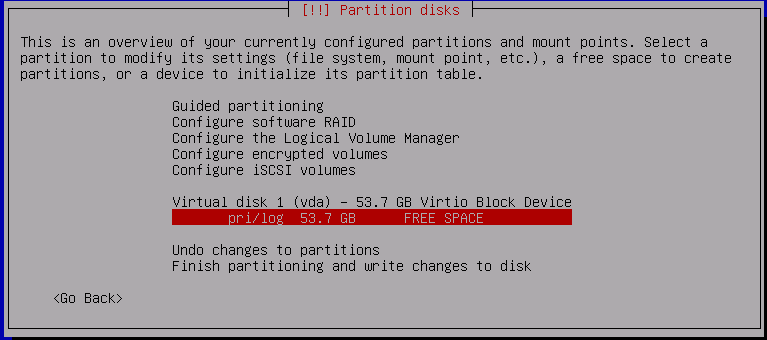
* How to use this free space: Select "Create a new partition" and press Enter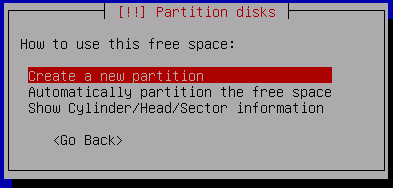
* Accept whatever size is shown (the entire disk)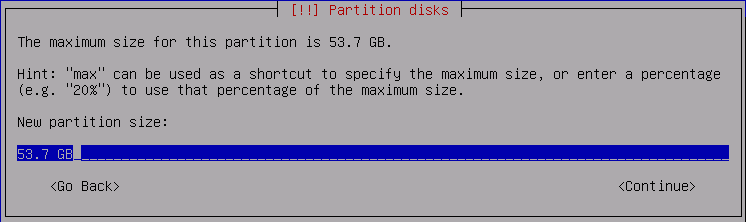
* Type for the new partition: Select "Primary"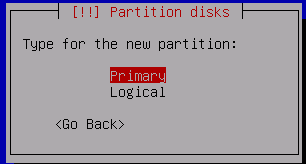
You are now presented with the following screen. Press "Enter":
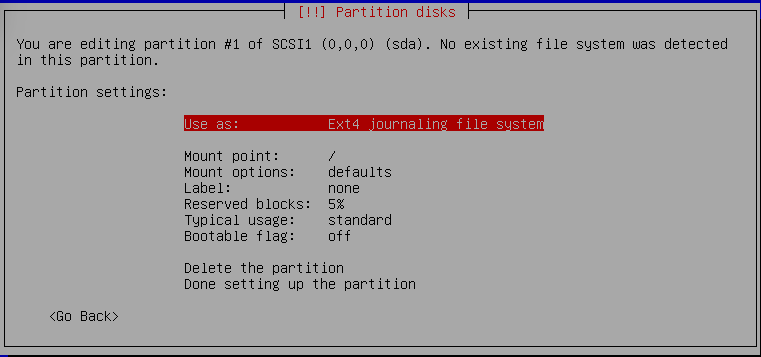
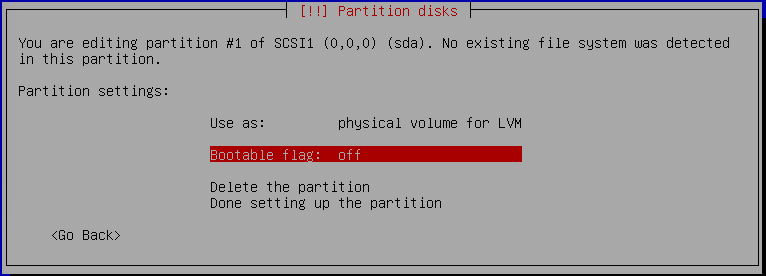
* Select: "physical volume for LVM"
Now Select "Bootable flag:" and press "Enter":
And, you should now see:
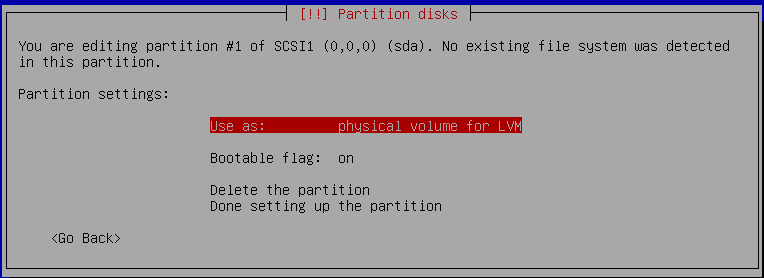
* Select "Done setting up the partition"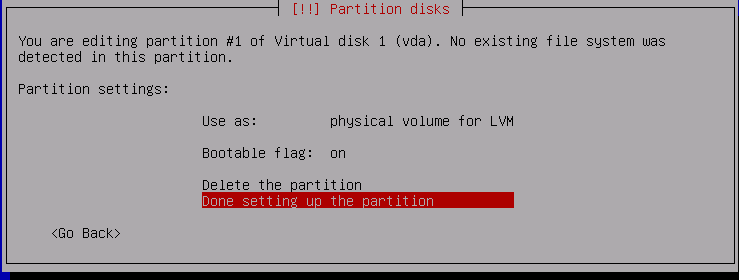
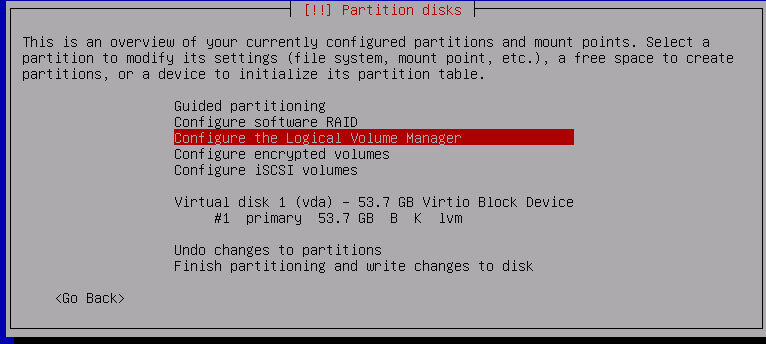
* Write changes to disks and configure LVM? Yes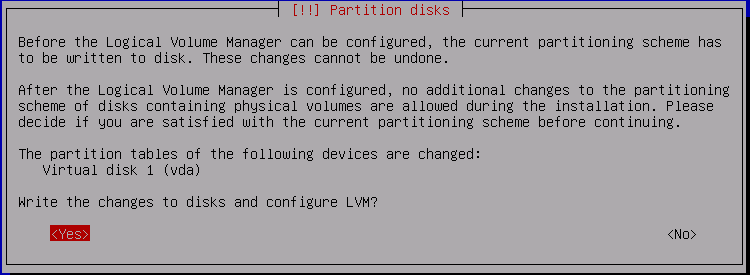
* Create volume group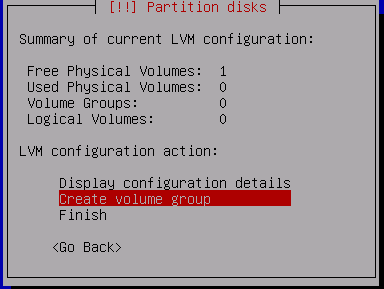
* Volume group name: ganeti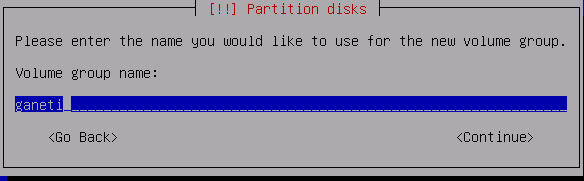
    * Devices for the new volume group: select only the LVM partition
      (probably /dev/vda1 or /dev/sda1) and hit SPACE to select - '[*]'
      appears, then hit Enter to continue.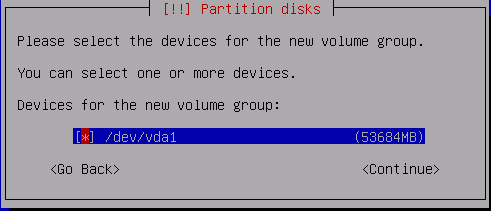
* Create logical volume
* Volume group: ganeti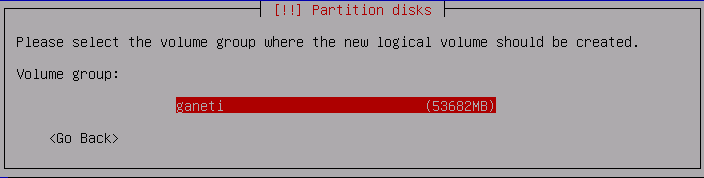
* Logical volume name: root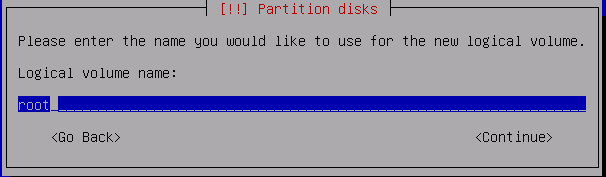
* Logical volume size: 8GB
* Create logical volume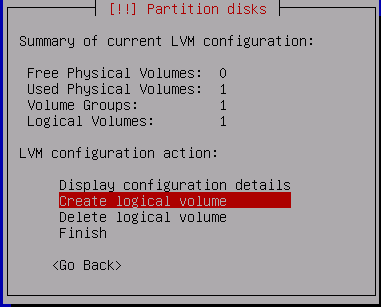
* Volume group: ganeti * Logical volume name: swap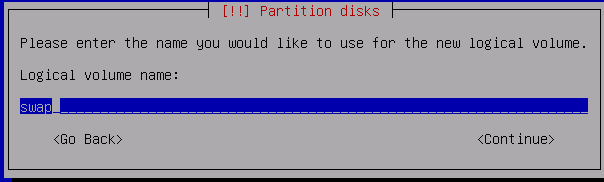
* Logical volume size: 4GB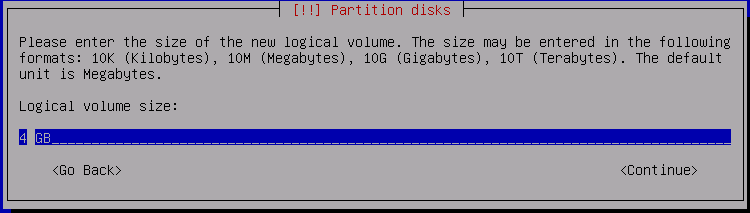
* Create logical volume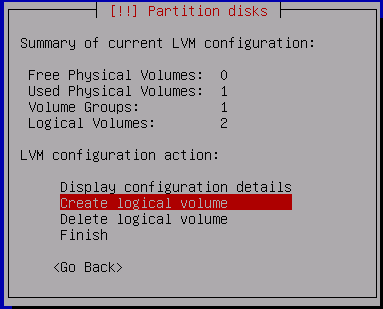
* Volume group: ganeti * Logical volume name: var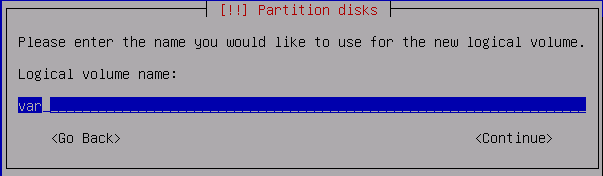
* Logical volume size: 20GB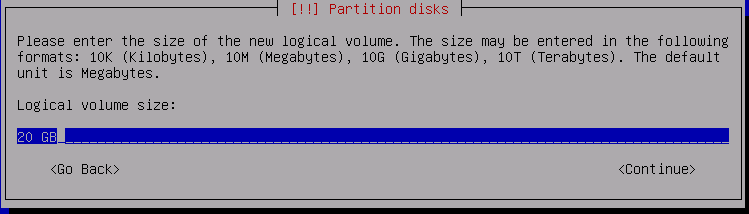
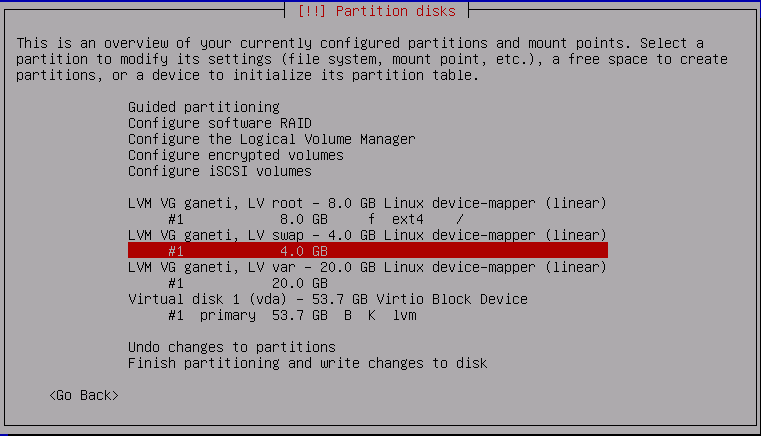
* Finish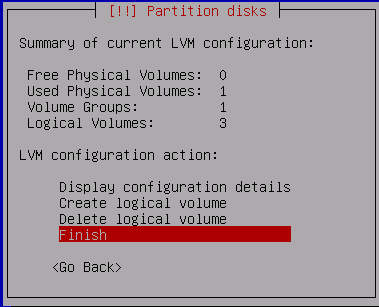
Select the entry #1 underneath LV root
LVM VG ganeti, LV root - 8.0 GB Linux device-mapper (linear)
     #1             8.0 GB   <<<<<<<< select this <<<<<<<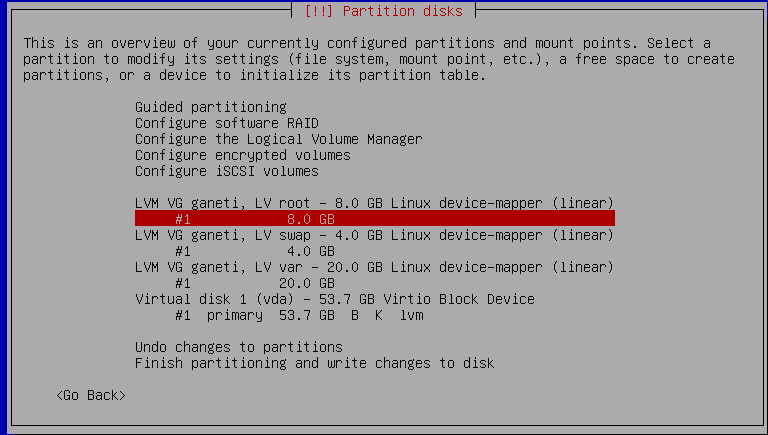
* Use as: Ext4 journaling file system
* Mount point: / - the root filesystem
* Done setting up the partition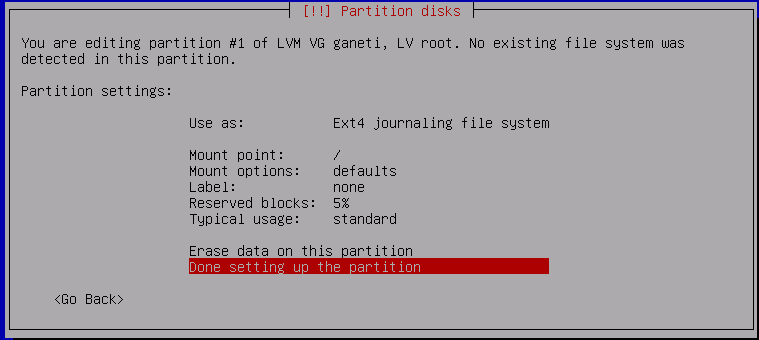
* Use as: swap area
* Done setting up the partition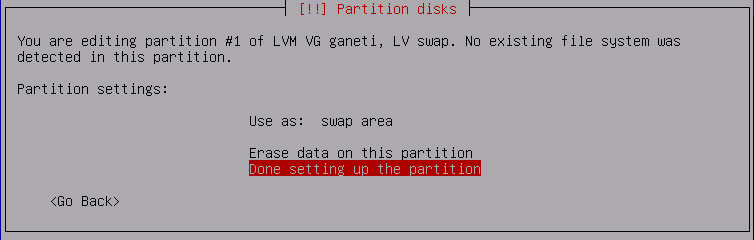

* Use as: Ext4 journaling file system
* Mount point: /var - variable data
* Done setting up the partition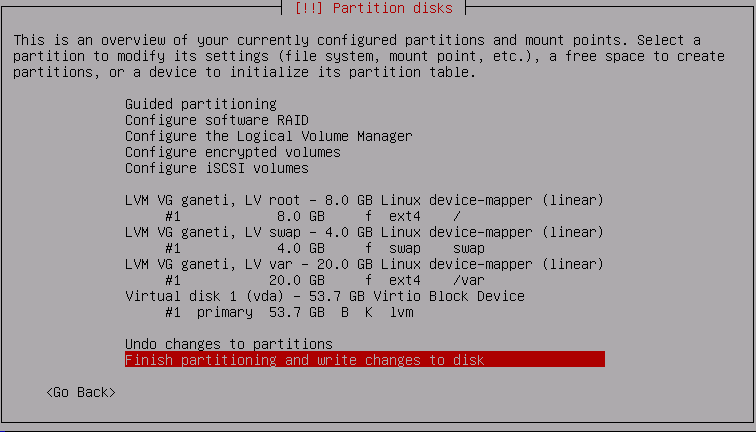
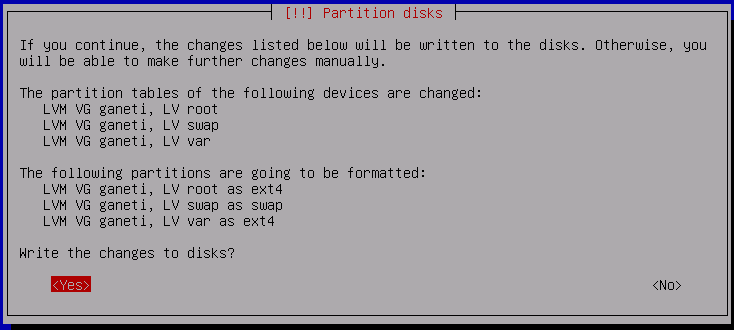
Disk partitioning will take place, and the operating system will be installed. This takes a little while.
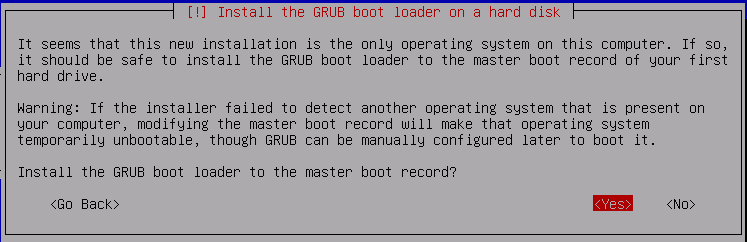
<No>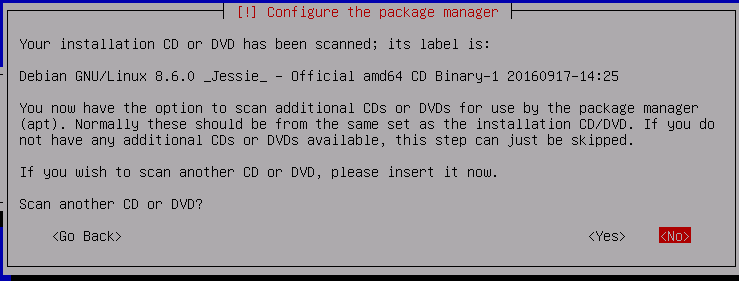
<Yes>
* Check with the instructor which country/mirror to use. In the
  absence of any guidance, [use these](https://wiki.debian.org/DebianGeoMirror)

* Go to the top of the list and choose `enter information manually`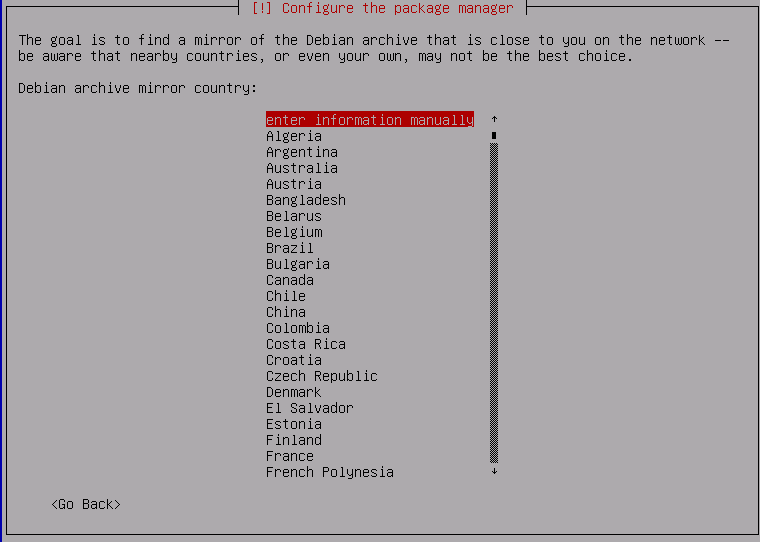
* Debian archive mirror hostname: `httpredir.debian.net`
* Debian archive mirror directory: `/debian/`
http://apt.ws.nsrc.org:3142/ then select <Continue>
<No>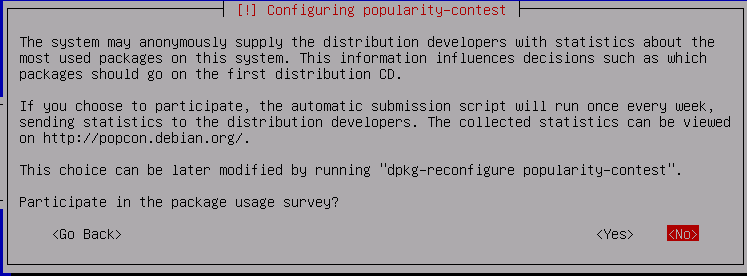
Choose software to install: Select only these:
[x] standard system utilities
Do not select any other item !

/dev/vda or /dev/sda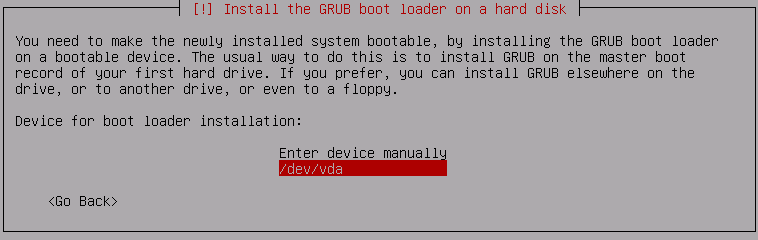
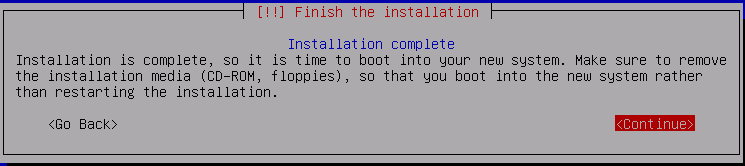
You should now boot into the system.
Login as root.
The first thing you will need to do is to get the installer to forget about the CD-ROM.
As root, edit the file /etc/apt/sources.list, for example using vi:
# editor /etc/apt/sources.listComment out any line which begins "deb cdrom:..." by inserting a hash (#) in front of it, changing it from this:
deb cdrom:[Debian GNU/Linux 8.6.0 [...]To this:
# deb cdrom:[Debian GNU/Linux 8.6.0 [...]Then save the file.
Install sudo, and add the 'nsrc' user into the 'sudo' group
# apt-get update
# apt-get install sudo
# usermod -G sudo -a nsrc
Also install vim which is an improved version of the vi editor
# apt-get install vimYour server may have picked up a dynamic IP address via DHCP, which you can find out using the ifconfig command:
# ifconfig eth0Now you are going to give it a static IP address and also configure bridging so that your virtual machines can share the same network interface.
Your machine will be given IP address 10.10.0.X
/etc/hostname, and change it to look like this:hostX.ws.nsrc.org/etc/hosts, and change it to look like this:127.0.0.1 localhost
10.10.0.X hostX.ws.nsrc.org hostX# apt-get install bridge-utils vlan/etc/network/interfacesChange the file so that it looks like this. This removes the (dynamic) IP address from eth0, and instead creates a bridge interface "br-lan" with a static IP address, and eth0 a member of the bridge.
# The loopback network interface
auto lo
iface lo inet loopback

# Management interface
auto eth0
iface eth0 inet manual

auto br-lan
iface br-lan inet static
        address         10.10.0.X
        netmask         255.255.255.0
        gateway         10.10.0.254
        bridge_ports    eth0
        bridge_stp      off
        bridge_fd       0
        bridge_maxwait  0
You can activate your changes like this:
# ifdown eth0
# ifconfig eth0 0.0.0.0
# killall dhclient
# ifup br-lan
# brctl show

bridge name     bridge id               STP enabled     interfaces
br-lan          8000.xxxxxxxxxxxx       no              eth0
You should see your new IP address on ifconfig br-lan, and you should still be able to ping out (e.g. ping 8.8.8.8)
/etc/resolv.confEdit /etc/resolv.conf and modify it to look like this:
domain ws.nsrc.org
nameserver 10.10.0.241
Check you can still resolve names (e.g. ping apt.ws.nsrc.org)
As a final check, reboot your server.
# rebootIt should come up on the same IP address again.
You should now be able to ssh into your server as user "nsrc" (e.g. using putty under Windows). Check you are able to do this. ssh to either hostX.ws.nsrc.org or 10.10.0.X
Both people in the pair should be able to connect to the server from their laptop, so they don't need to share the console.
NOTE: get into the habit of logging into the server as a normal user, and try to avoid logging in as "root". You will see a prompt which ends with $.
By default, since Debian version 8, logging in as root directly over SSH is disabled.
If there is a single command you wish to run as root, prefix it with sudo. If you have a series of commands to run as root, start a root shell with sudo -s, and the prompt will change to #. When you have finished, type exit to leave the root shell.